In mid-October 2001, A and G Squadron of the 22nd Regiment of the famous SAS (Special Air Service), the elite of the British armed forces, found themselves in Afghanistan, in the wake of the September 11 attacks in the USA.
In November 2001 it was decided to carry out Operation Trent, i.e. the destruction of al-Qaeda's opium production facility which was located on a 1,800 m mountain 20 km from the border with Pakistan , in the wider area of Kandahar.
There were familiar as well as combat positions guarded by at least 80-100 jihadists. The information gathered by the competent services indicated that it was about well-armed and, above all, fanatical men . The facility also served as a local headquarters as well as an arms import station from Pakistan.
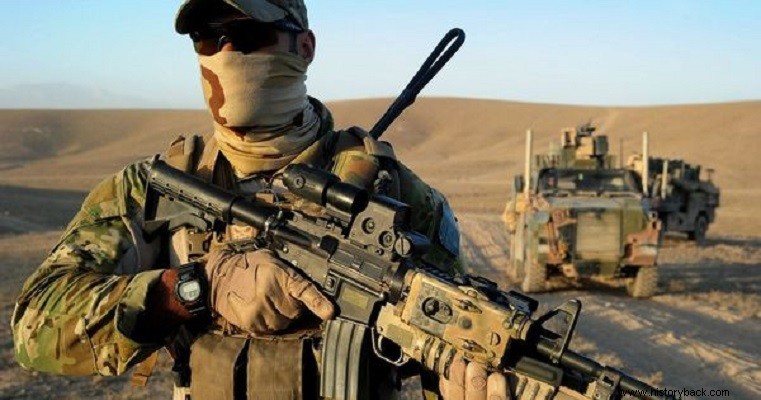
For these reasons it was decided to attack the installation by the men of the two divisions of the SAS. The attack would take place by day and would be supported, to a limited extent, by air. 100-140 SAS members took part in the operation (sources do not agree with each other).
Like a well-tuned machine
The operation began with a team of 8 men of G Squadron being parachuted from 8,500 m into a desert area that would serve as a makeshift airfield and launch base. The commandos located a 274m long strip of ground that would be used as a runway for the six C-130 transport planes carrying the remaining men.
That in itself was an amazing achievement. One by one the planes landed and the SAS disembarked themselves, their vehicles and equipment in no time. In total they had 38 Land Rover vehicles, two logistics support vehicles and 8 motorcycles. There were three men in each Land Rover. A vehicle suffered a mechanical breakdown.
The commandos then traveled 190 km to the target area and on reaching there they split into two sections, the assault section and the fire support section. The first consisted of men of A Squadron and the second men of G Squadron. 7.62 mm machine guns were available for fire support. of 12.7 mm. (0.50in), 81mm mortars. and Milan anti-tank missiles, while snipers were equipped with 12.7mm Barrett heavy rifles.
Fire and death
The commandos deployed within 800 m of the objective and waited for dawn the next day. Around 07:00 the operation began with bombing of enemy positions by four American F/A-18 aircraft. . Covered by the bombardment, the attack section charged forward, supported by the fire of the support section. The men of A Squadron left their vehicles several meters before the perimeter of the installation as the terrain prohibited their movement.
The commandos captured the enemy's first line of trenches and charged against the installation under fire from rifles and portable anti-tank launchers. The commandos faced stiff resistance in front of the enemy's fortified positions and were pinned down. Aircraft tried to intervene but almost hit the British.
One commando was injured but 12 of his colleagues managed to penetrate the enemy defense system killing at least 6 of them. But the fanatical Islamists did not stop fighting fiercely. Due to the progress of the battle part of the support section was involved to assist the men of A Squadron. Three more commandos were injured. The losses would have been very high but they were mitigated by the men's individual armor and helmets.
After being reinforced, the men of A Squadron managed to enter the facility. Their fanatical opponents did not surrender, preferring death. However, it took two more hours of fighting from the cluster to completely clear the facility. The entire attack lasted 4 hours and resulted in the wounding of 4 SAS members, the death of 73 opponents and the destruction of the facility. The commandos withdrew without incident.